

Github allows you and others to work synchronically on projects from anywhere and lets you monitor the complete history of all the modifications to the source code. It is like cloud storage for your code.
The word “Git” stands for the version control system that runs in the command line interface and tracks the constant revisions to the files. And “Hub” is the place where people store their projects and network amongst themselves.
Today we are going to learn the basic commands of GitHub, that will let you dive into it’s amazing world. So, without further ado, let’s get started.
Create a GitHub account
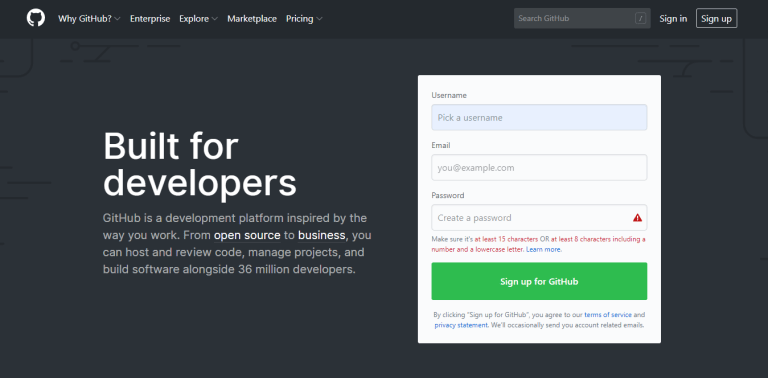
First things first we need a GitHub account ( Figure-1 ) to store the source code of our project.
Create a GitHub repository
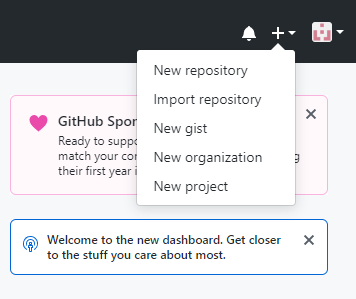
Once your GitHub account is ready, you can log in to your account and create a repository. To do that click + In the upper-right corner of any GitHub page, and then click New repository ( Figure-2.1 ).
Your repository contains all of your project’s files and stores each file’s revision history.
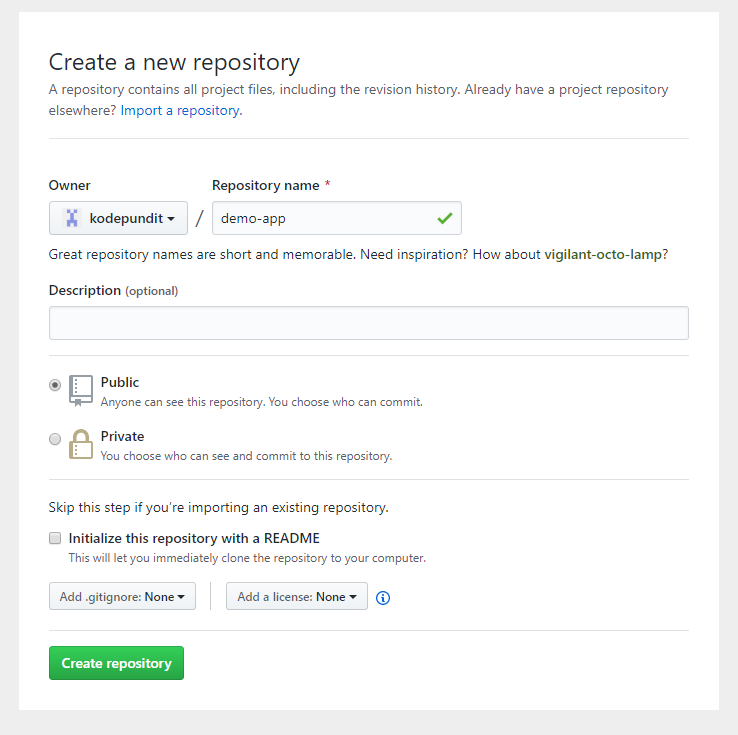
Now add a name for your repository and an optional description. Then choose to make the repository either public or private ( Figure-2.2 ).
Public repositories are visible to everyone, while private repositories are only accessible to you, and to the people, you share them with. When you are finished, click Create repository.
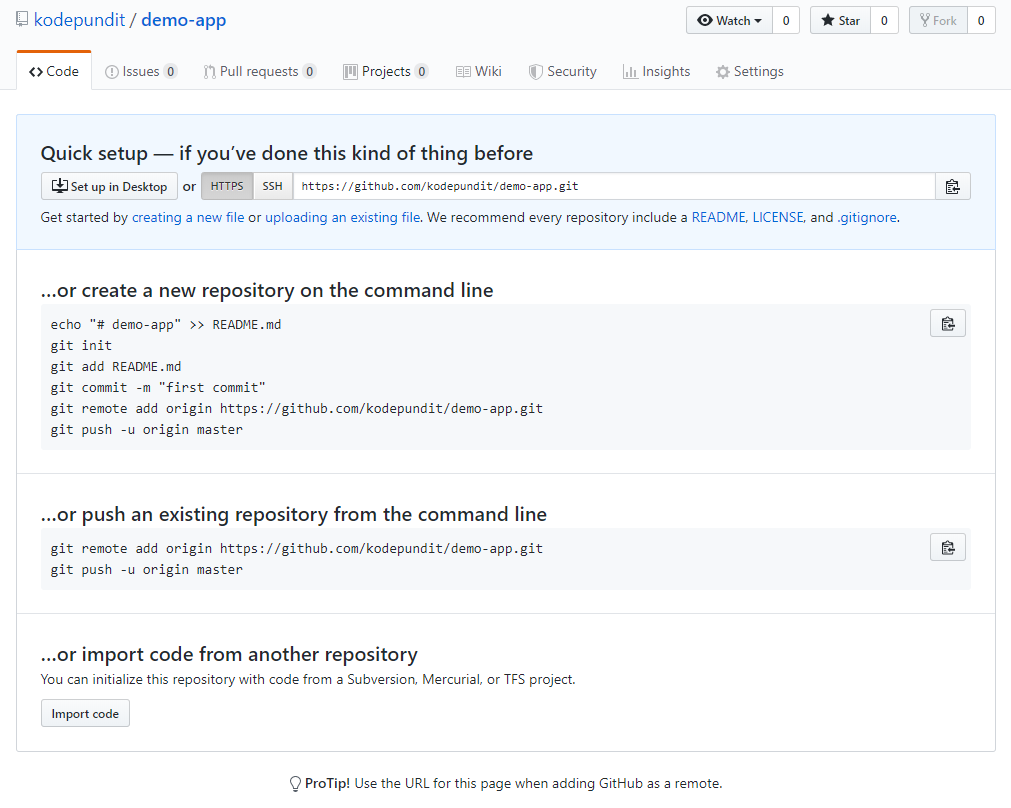
Once your GitHub Repository is created it should look something like in the Figure-2.3.
Download and install the Gitb
Git is a free and open source distributed version control system. We will be using it to upload our source code to GitHub.
Upload your source code to the new GitHub Repository
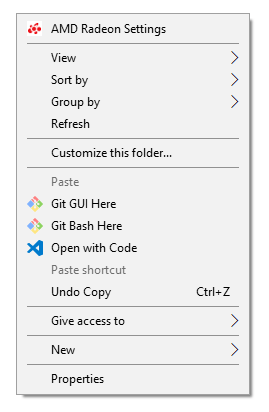
Now right-click on the root of the project folder and select Git Bash Here ( Figure-4.1 ), which is added in the context menu after installing git.
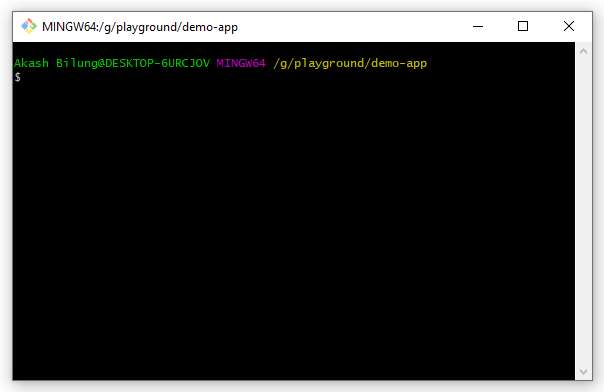
Clicking on Git Bash Here will open up a terminal ( Figure-4.2 ), where git commands will be written.
Follow the git commands that GitHub produced, when you have created the new repository, please refer to Figure-2.3.
git init – Initializes git by creating a hidden git folder in the project directory.
git add . – Adds all the files or folders to git.
git commit -m "message" – Saves the changes in the local repository. You can name your own commit instead of "message".
Tip: You should name the commits that describes your activity, as it’ll allow you to distinguish between the history of all changes to the source code.
git remote add origin URL– An identifier so you can specify which remote repository to be used in other commands. Use your remote URL instead of URL( Figure-2.3 ).
git push -u origin master– Uploads source code to GitHub.
Once you push the code, You will be able to see it in your project’s repository.
Note: New users of git will be prompted to create a username and add the email address to associate commits with an identity. The Git username is not the same as your GitHub username.
Conclusion
Did you find this blog post helpful? If so, whom could you share it with?
Photo Credits: Featured Image by Vector_corp & GitHub Logo