
A few months ago when I wanted to deploy Nuxt to Heroku as I was trying to upgrade myself from the amazing world of jQuery, with which I started my career in front-end development. I discovered NUXT, an incredible open-source JavaScript framework.
Everything was going smooth and amazing until I finally had to deploy it with its backend on an IaaS or a Paas (Infrastructure & Platform as a service ) like Azure, Amazon Web Services(EC2 or Elastic Beanstalk), Google Cloud or Heroku.
I went with Heroku as it was easy to use and allowed me to focus on perfecting my apps and not the infrastructure that supports them.
Today we are going to learn how we can deploy Nuxt to heroku with just a few simple steps.
Download Heroku CLI
The Heroku Command Line Interface (CLI) makes it easy to create and manage your Heroku apps directly from the terminal. It’s an essential part of using Heroku.
The Heroku CLI requires Git, the popular version control system. If you don’t already have Git installed, complete the following before installing the CLI:
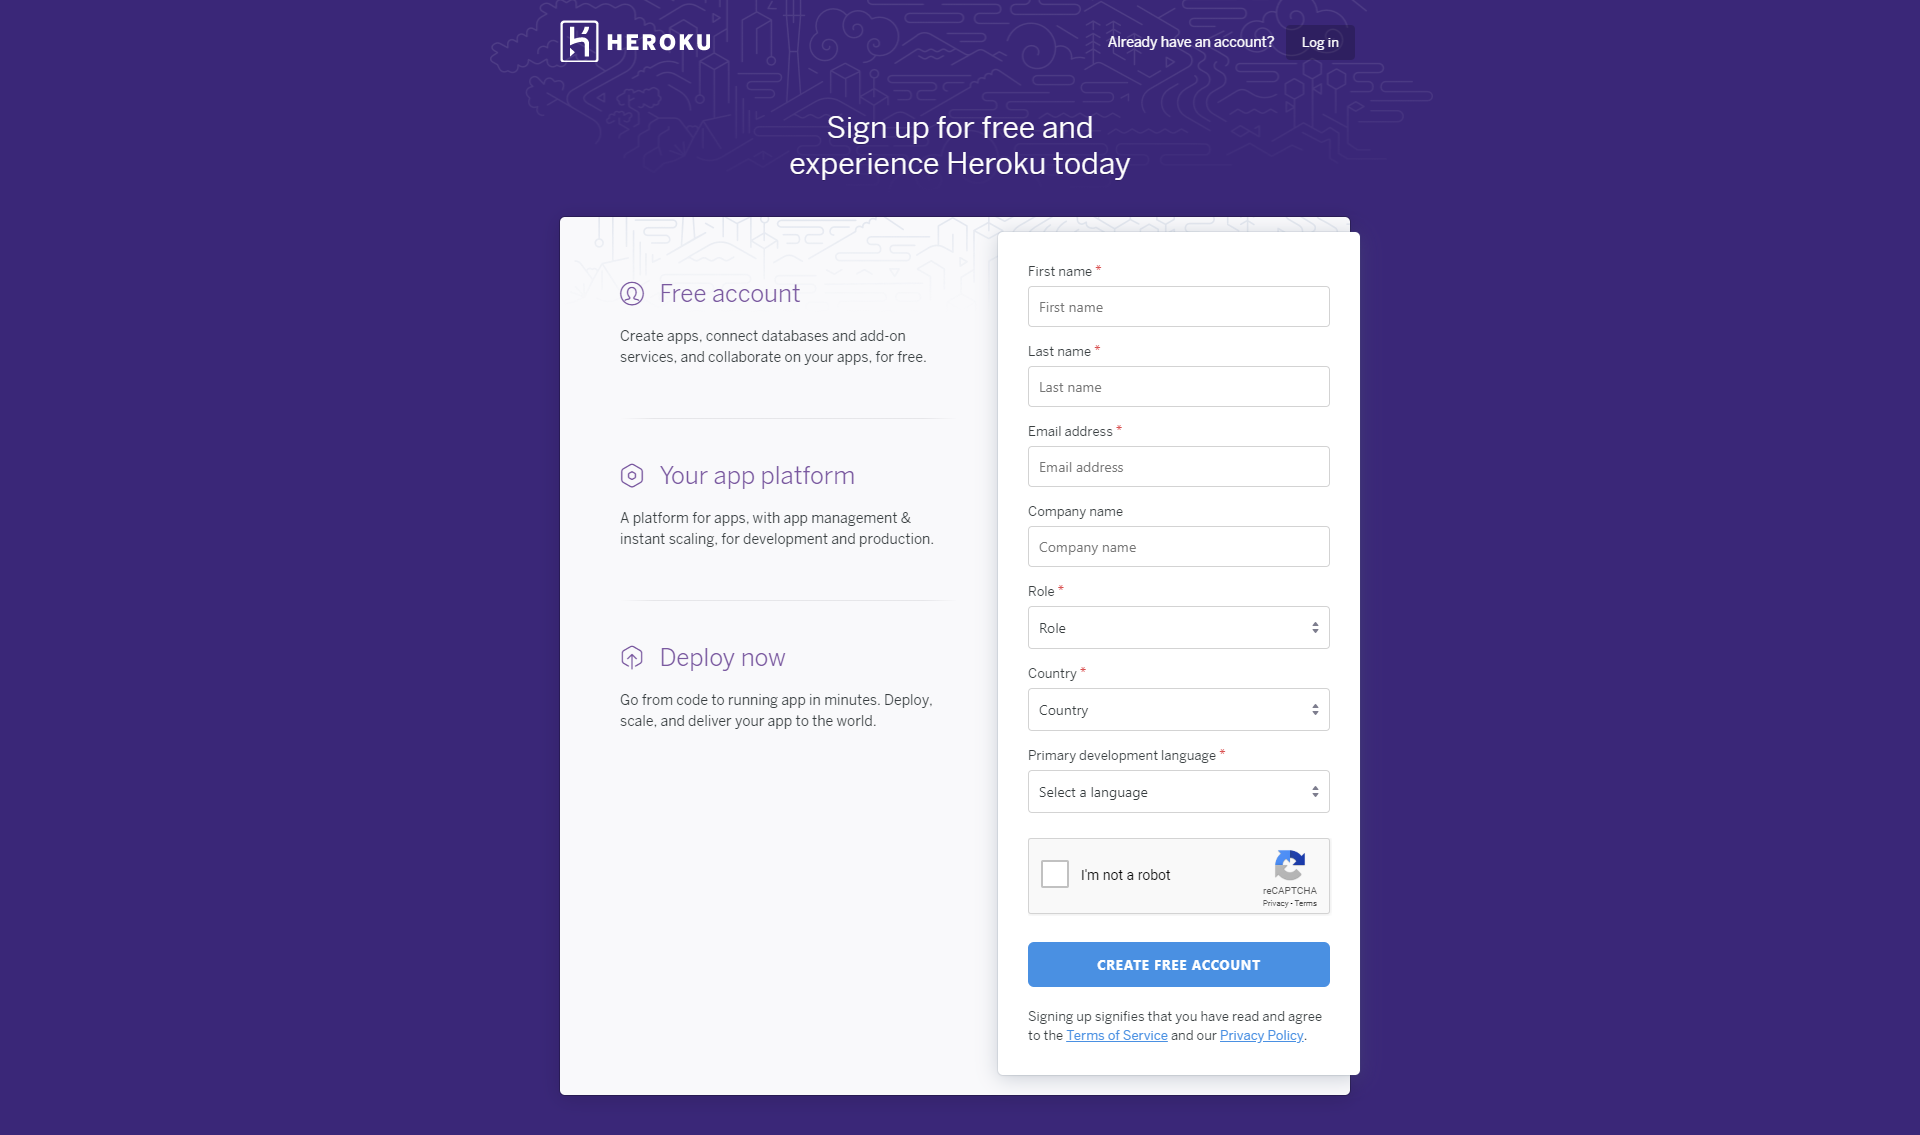
Create a Heroku account
First you have to create a Heroku account ( Figure-1.1 ).
Once the account is created, you will be able to see an empty dashboard where you need to create a new app by clicking on the new button on the right side of the dashboard( Figure- 1.2 ).
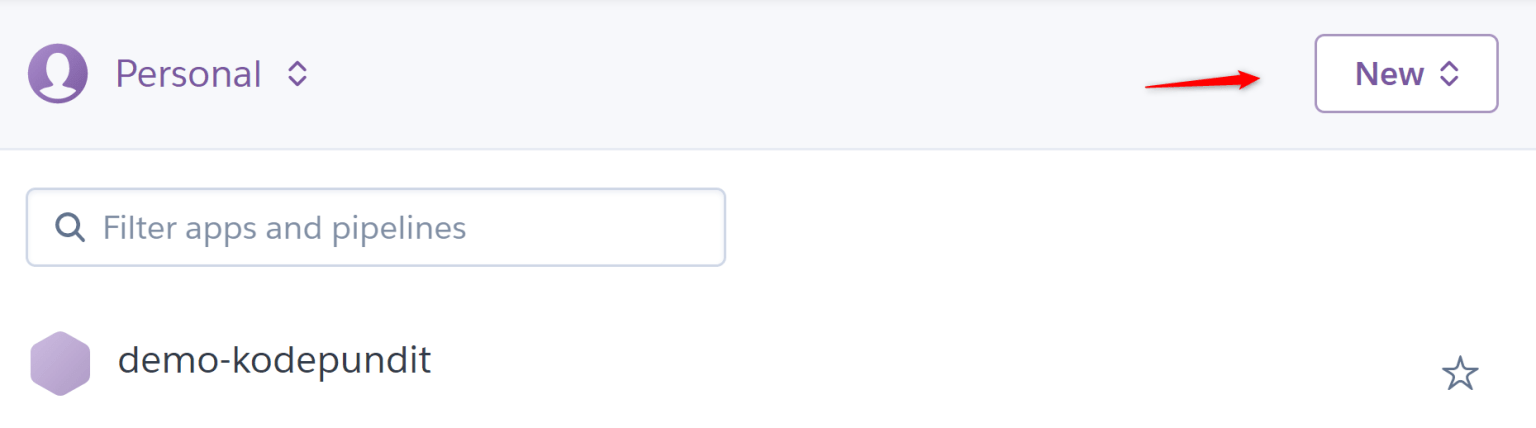
Or you can also use the following command in the terminal.
heroku apps:create "your app name"
Deploy Nuxt to Heroku
After creating the app, you will be redirected to your app’s deploy tab where you will see Deploy using Heroku Git. Follow the git commands in your terminal that Heroku produced ( Figure-2.1 ) when you have created the new app.
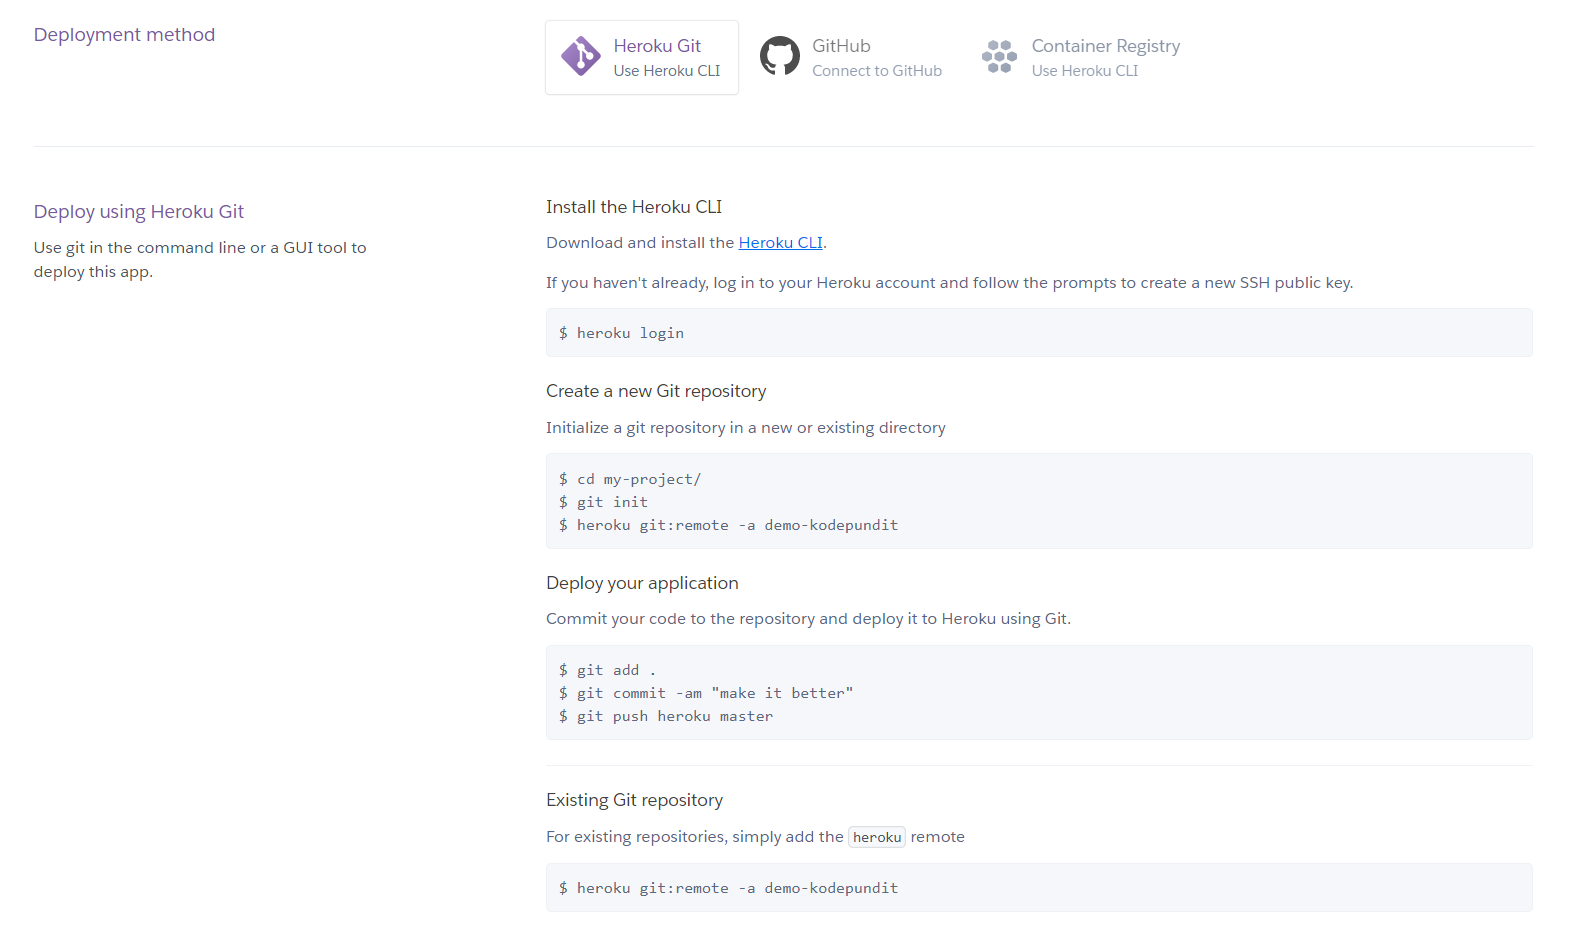
heroku login – It will log you in to your Heroku account by prompting you to open the browser.
Create a new Git repository
git init – Initializes git by creating a hidden git folder in the project directory.
heroku git:remote -a yourAppName – An identifier so you can specify which remote repository to be used in other commands. Use your app name instead of yourAppName( Figure-2.1 ).
Existing Git repository
heroku git:remote -a yourAppName – Adds Heroku remote origin to an existing git repository.
Deploy your application
git add . – Adds all the files or folders to git.
git commit -m "message" – Saves the changes in the local repository. You can name your own commit instead of "message".
Tip: You should name the commits that describes your activity, as it’ll allow you to distinguish between the history of all changes to the source code.
git push heroku master– Uploads source code to Heroku.
Once you push the code, You will be able to see it in your activity tab.
Configure your app in Heroku
Now our app is deployed on Heroku but still, there are a few things left to be done. We need to set the environment variables in the setting page of the application ( Figure-3.1 ).
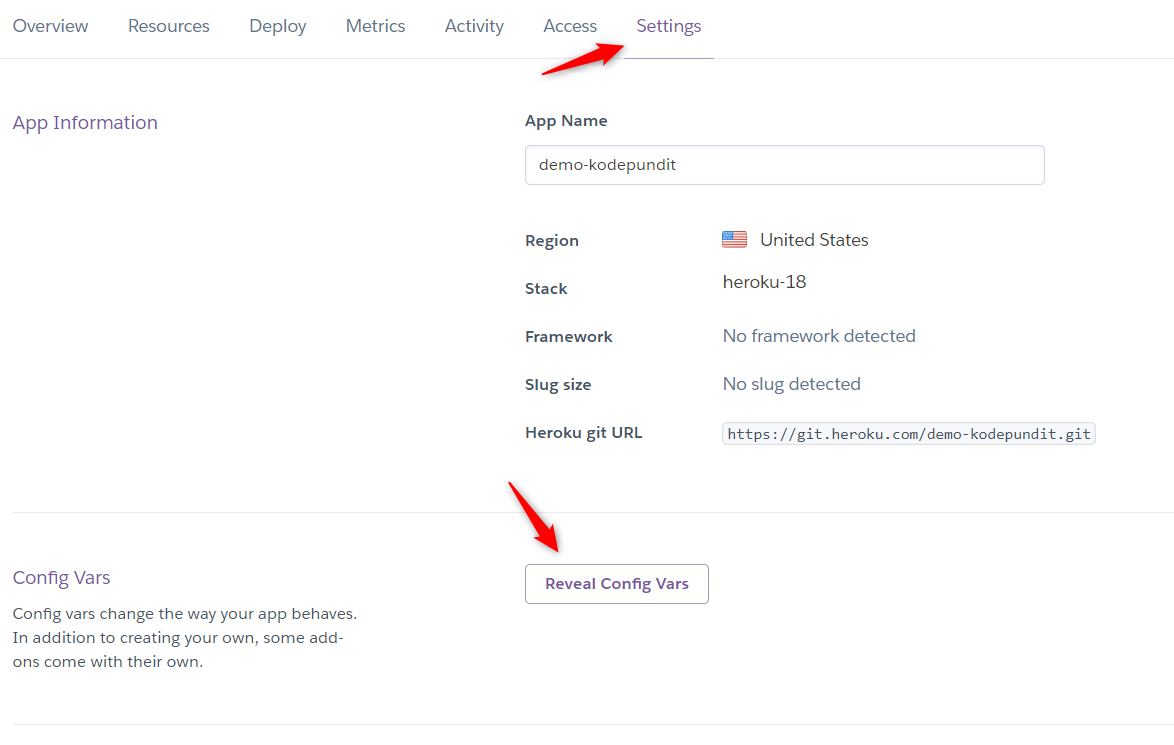
First, we will need Heroku to install the devDependencies of the project, then we also want our application to listen to the host 0.0.0.0 and run in production mode ( Figure-3.2 ).
| KEY | VALUE |
|---|---|
| NPM_CONFIG_PRODUCTION | false |
| NODE_ENV | production |
| HOST | 0.0.0.0 |
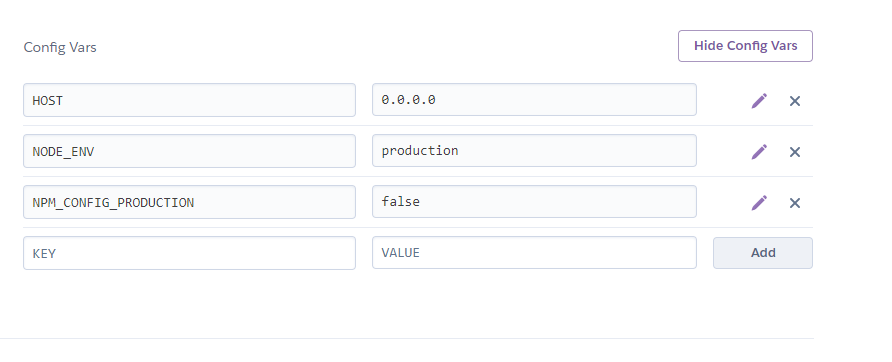
You can also configure the variables by typing the following commands in your terminal:
heroku config:set NPM_CONFIG_PRODUCTION=false
heroku config:set HOST=0.0.0.0
heroku config:set NODE_ENV=production
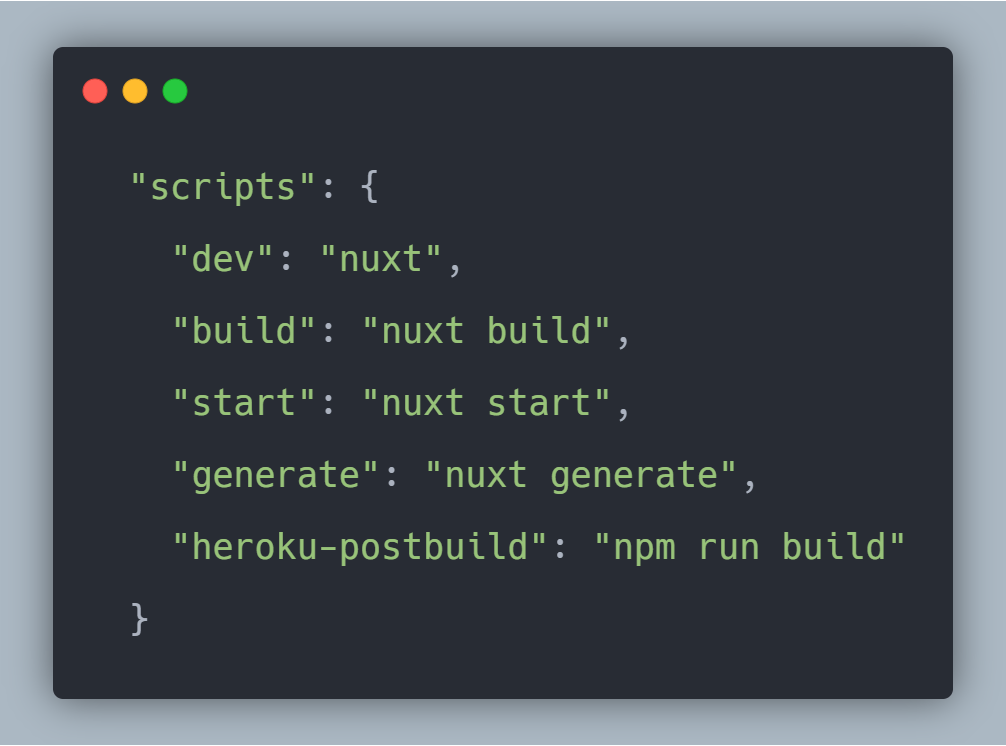
After setting up the environment variables, add the following line in the scripts in your package.json ( Figure-3.3 ).
"heroku-postbuild": "npm run build"
Now add and commit the changes and push it to heroku remote. Your application will be uploaded to Heroku.
git add .
git commit -m "Added command for Heroku build"
git push heroku master
Visit the URL of your Heroku application or type heroku open in your terminal. Yay, now you can see it’s working.
Conclusion
If you enjoyed this blog post, share it with a friend! Also, please let me know if you have any questions in the comments below.