

Everyone wants to have a pretty-looking domain that describes/brands their business, unlike idyllic-sundae-8cc424.netlify.app. Netlify knows this pretty well too and allows you to buy a domain or assign an existing domain with Netlify, registered with an external registrar like GoDaddy, Name Cheap, Big Rock, Hostgator, etc.
Today we are going to learn how we can assign our own custom domain on Netlify.
Step 1 – Add Custom Domain on Netlify
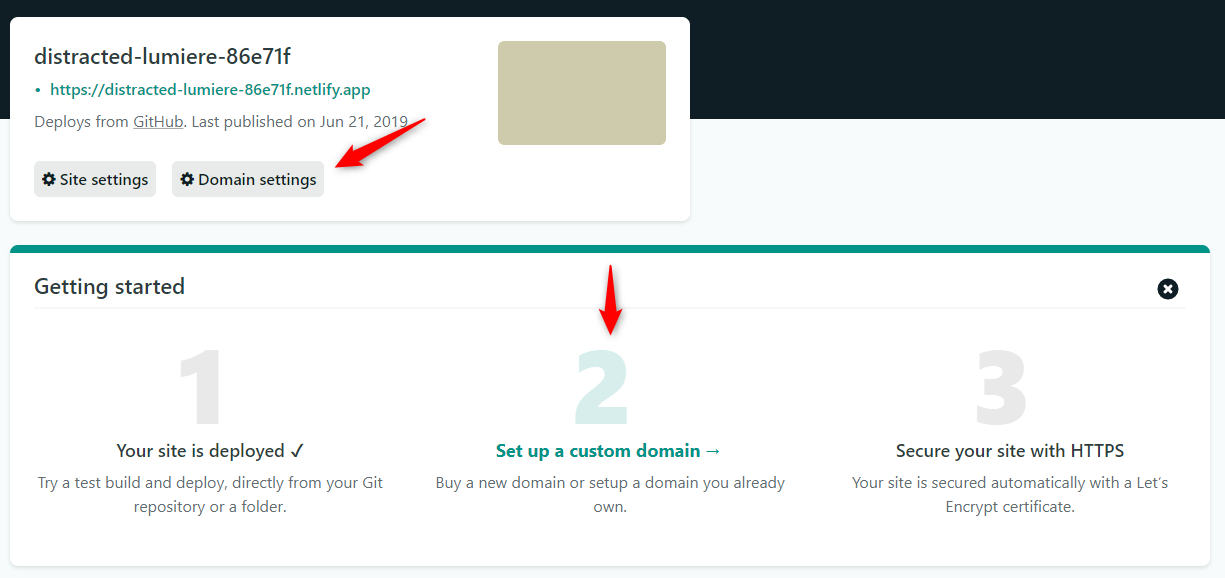
To assign a custom domain, go to your site settings > domain management or click on the domain settings or set up a custom domain ( Figure – 1 ) in your site’s panel.
Once you are there click on the button that says Add custom domain in the Custom domains section.
Step 2 – Verify the domain
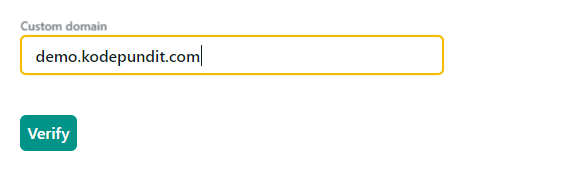
After clicking on the button you will be asked to enter the custom domain ( Figure – 2 ) you want to use. Once you enter the URL click verify and Netlify will validate the domain. And click on Yes, add domain if your domain already has an owner and it’s you. If not you can click on No, try another, and enter the correct domain.
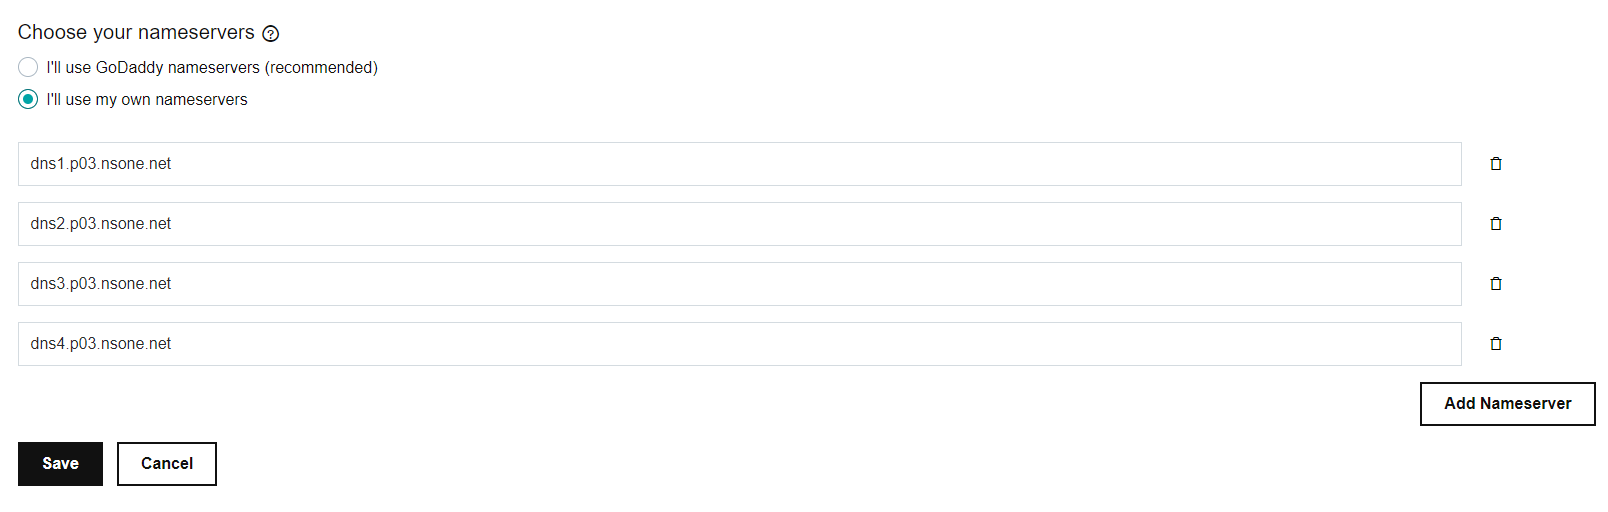
Step 3 – DNS Configuration
Now you are pretty close and all that’s left to do is configure the DNS. Just click on the Check DNS configuration ( Figure – 3 ) and you will get the Netlify nameservers, that you would need to update in your domain DNS settings.
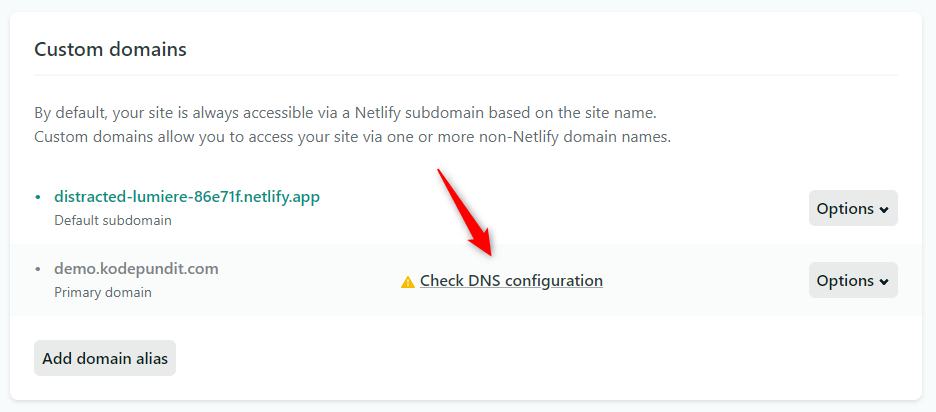
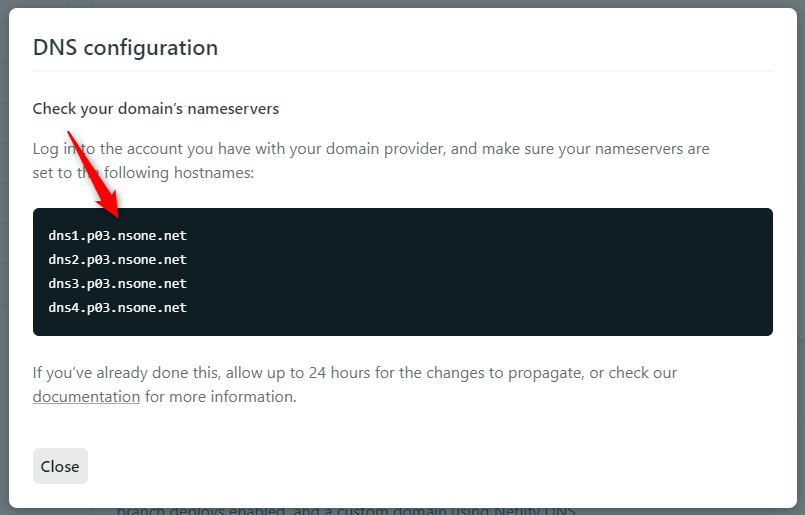
Go to the DNS management of the domain registrar ( Figure – 3.3 ) from which you purchased your domain and update with nameservers Netlify ( Figure – 3.2 ) has provided.
Step 4 – Check your domain
And that was all. Now you would be able to see your site up and running. If you do not see the domain working, don’t worry allow up to 24 hours for the changes to propagate.
Conclusion
I would love to see how you would implement this in your next project. Come back here and tell us about your experience with Netlify. I bet you’ll have something to say!
If you enjoyed this blog post, share it with a friend!
1 comment
Nice details.